使用GitHub Actions自动部署Hexo博客
为了更好地备份我的博客,我将其源码推送到了一个GitHub仓库。之前了解过一点GitHub Actions,遂想着通过这个东西来自动部署博客。
随着博客的内容越来越多,本地编译的速度会越来越慢,况且我还使用了一些gulp插件,运行非常耗时,这个时候,把编译、部署的工作交给GitHub Actions就是一件非常舒服的事。另一方面,我以前没怎么用过这个功能,正好借此机会熟悉一下GitHub Actions的编写。
我的博客之前都是运行在云服务器上,而众所周知,GitHub提供了免费的静态页面托管服务——GitHub Pages。既然我已经把博客迁移到了静态站,那么现在不仅可以选择部署上服务器,还多了一个选择:将博客部署到仓库的GitHub Pages下。
设置环境变量
创建一个SSH密钥,用于此仓库连接服务器。
ssh-keygen -t rsa -b 4096 -C "git@github.com:windshadow233/windshadow233.github.io.git"这里,windshadow233.github.io是我的仓库名。
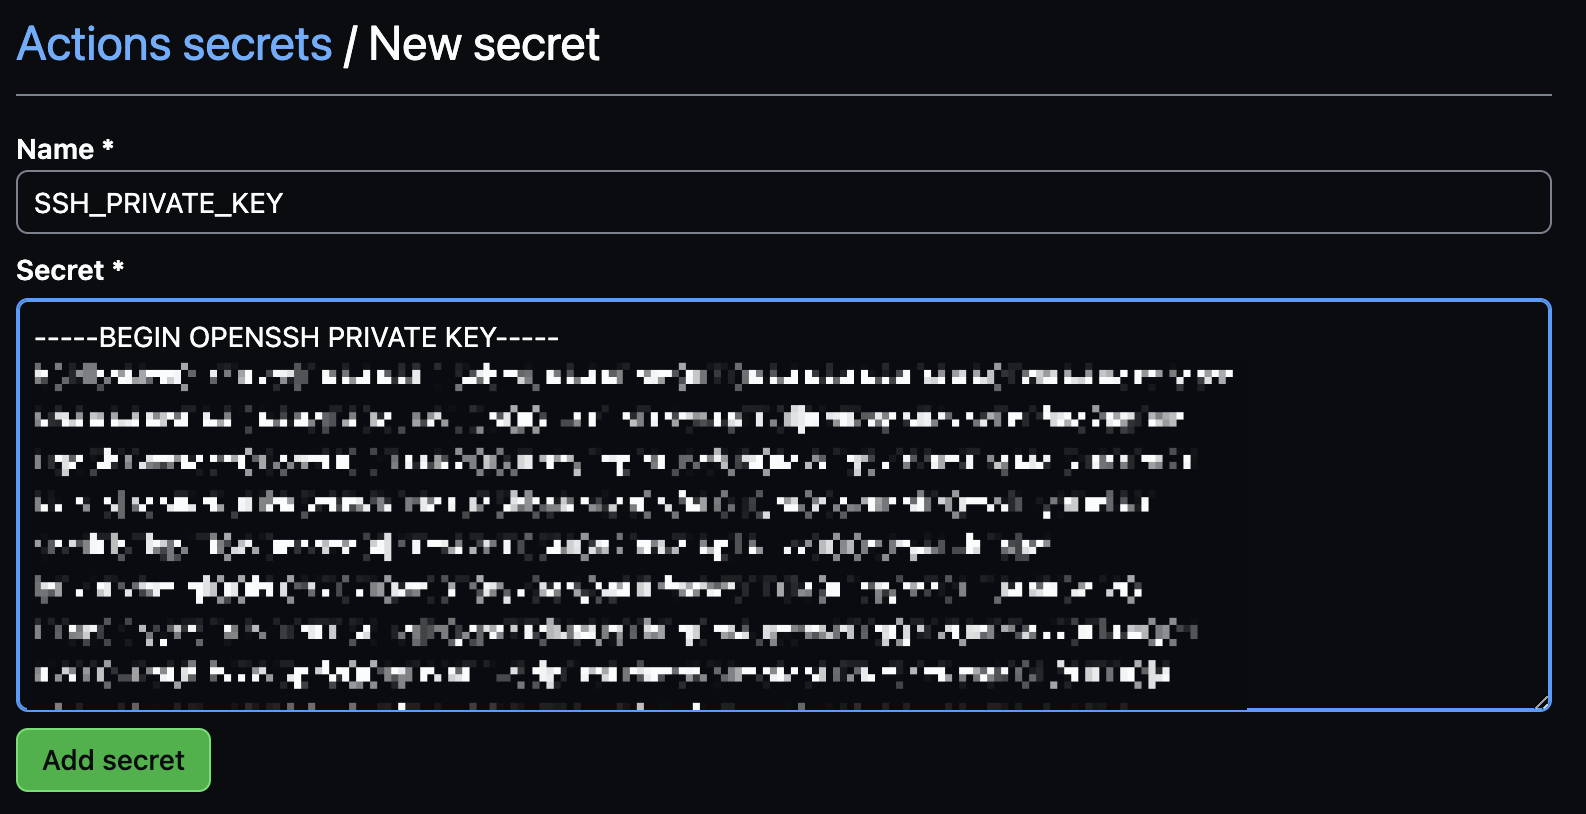
将此公钥上传到服务器,并将私钥粘贴到仓库的secrets下,命名为SSH_PRIVATE_KEY:
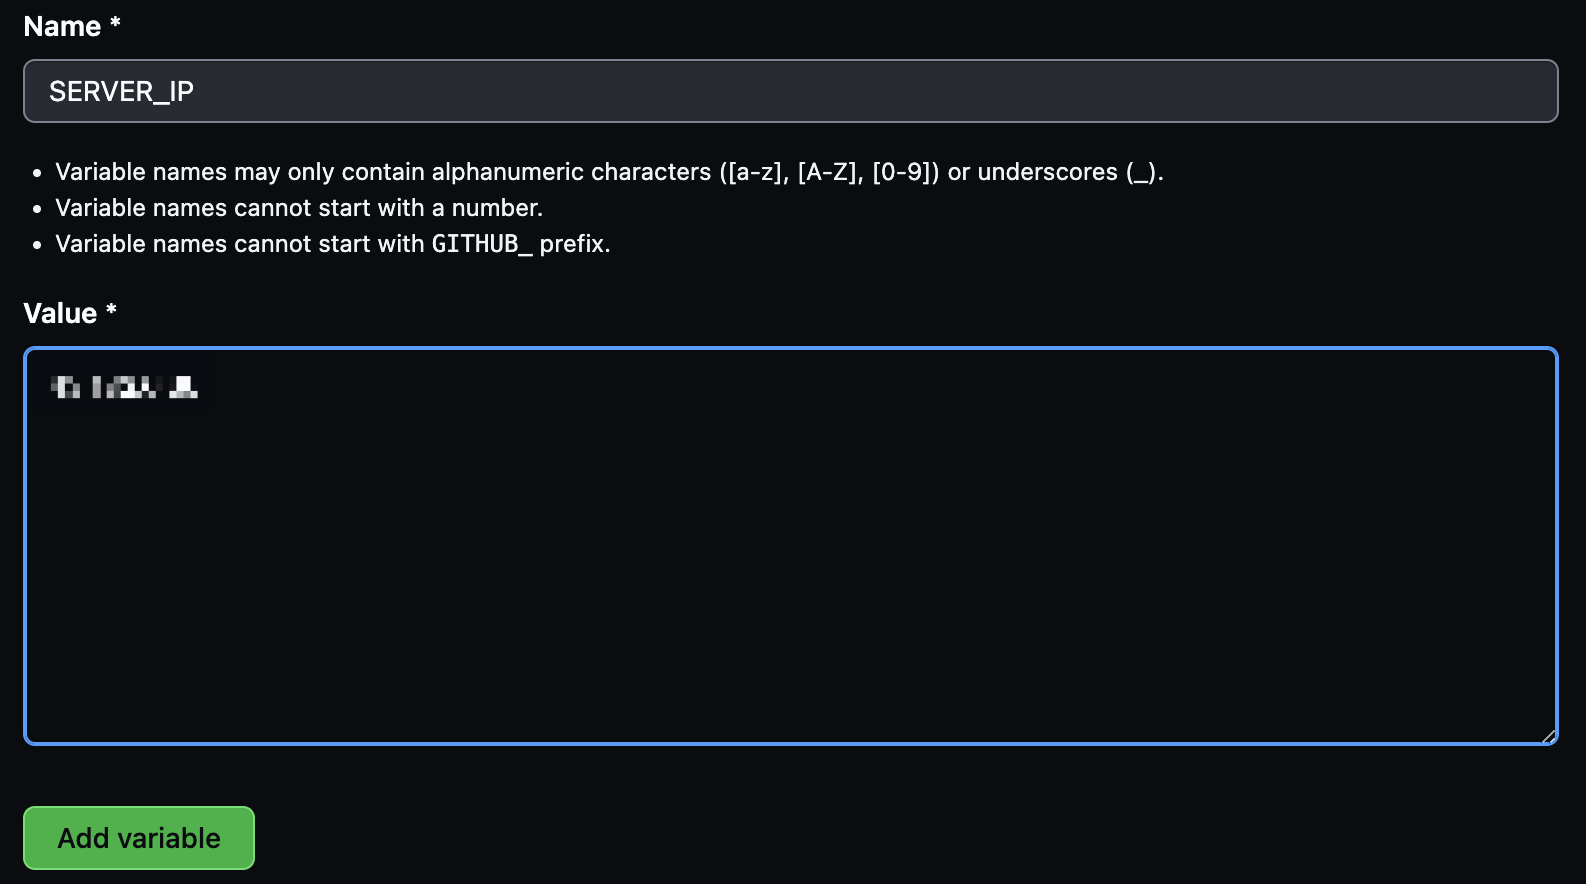
创建变量SERVER_IP,值为服务器的ip地址:
创建workflow文件
在仓库根目录创建目录:.github/workflows/,然后在该目录下创建文件:deploy.yml
name: Deploy Site

on:
  push:
    branches:
      - main
    paths:
      - 'source/**'
      - 'themes/**'
      - '_config.yml'
      - '_config.butterfly.yml'
  workflow_dispatch:

jobs:
  build-and-deploy:
    runs-on: ubuntu-latest
    steps:
    - name: Checkout
      uses: actions/checkout@v4

    - name: Set up Node
      uses: actions/setup-node@v4
      with:
        node-version: '21.7.1'
    - name: Cache Node modules
      uses: actions/cache@v4
      with:
        path: node_modules
        key: ${{ runner.os }}-node-${{ hashFiles('**/package-lock.json') }}
        restore-keys: |
          ${{ runner.os }}-node-

    - name: Install Dependencies
      run: npm install

    - name: Generate Static Files
      run: npm run b

    - name: Set up SSH key
      uses: webfactory/ssh-agent@v0.9.0
      with:
        ssh-private-key: ${{ secrets.SSH_PRIVATE_KEY }}

    - name: Deploy with Rsync
      run: |
        ssh-keyscan -p 22 -H ${{ vars.SERVER_IP }} >> ~/.ssh/known_hosts
rsync -avz --delete -e "ssh -p 22" ./public/ root@${{ vars.SERVER_IP }}:/var/www/blog/其中npm run b是我定义在package.json文件中的命令。上述文件表示在检测到main分支的source/,themes/目录以及配置文件的发生变更时,自动触发GitHub Actions。
需要在GitHub中创建一个用于操作repo的token。
创建workflow文件
在仓库根目录创建目录:.github/workflows/,然后在该目录下创建文件:deploy.yml
name: Deploy Site
on:
push:
branches:
- main
paths:
- 'source/**'
- 'themes/**'
- '_config.yml'
- '_config.butterfly.yml'
workflow_dispatch:
jobs:
build-and-deploy:
runs-on: ubuntu-latest
steps:
- name: Checkout
uses: actions/checkout@v4
- name: Set up Node
uses: actions/setup-node@v4
with:
node-version: '21.7.1'
- name: Cache Node modules
uses: actions/cache@v4
with:
path: node_modules
key: ${{ runner.os }}-node-${{ hashFiles('**/package-lock.json') }}
restore-keys: |
${{ runner.os }}-node-
- name: Install Dependencies
run: npm install
- name: Generate Static Files
run: npm run b
- name: Deploy to gh-pages
uses: JamesIves/github-pages-deploy-action@v4
with:
token: ${{ secrets.GITHUB_TOKEN }}
branch: gh-pages
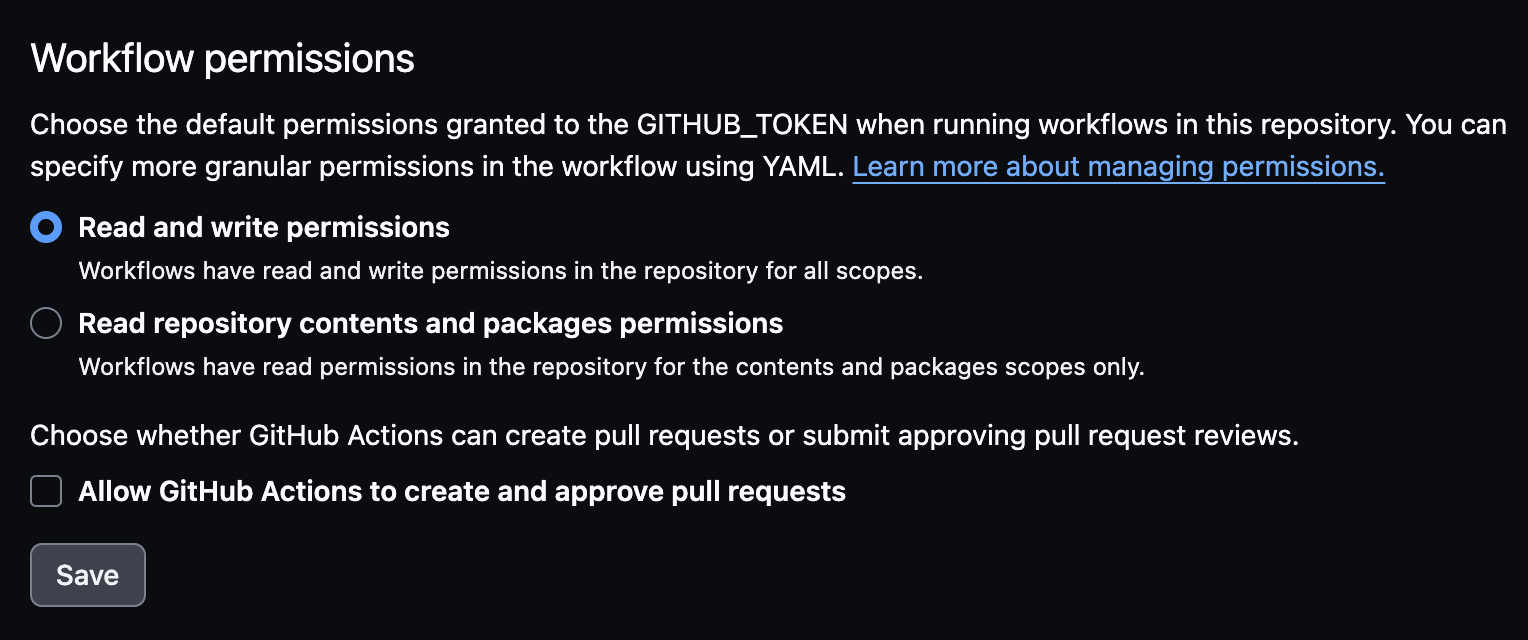
folder: public前往仓库的Settings->Actions->General,将Actions对仓库的操作权限提升为“读写”:
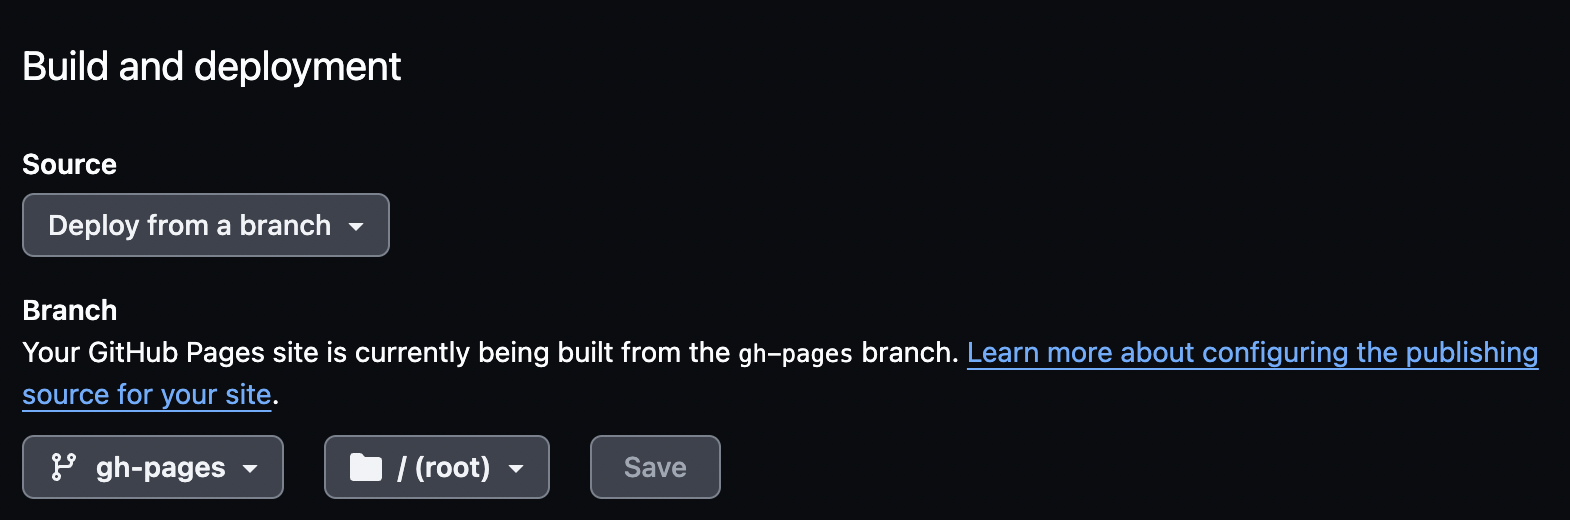
gh-pages分支生成后,前往仓库的Settings->Pages,选择Deploy from a branch:gh-pages
自此,GitHub Actions配置完成,现在push到此仓库的main分支时就会自动触发Hexo的部署流程。
当然,也可以在workflow里将上面两种部署方法全部写上,相当于博客的多个镜像站,也是非常不错的选择,另外,将gh-pages分支绑定到一些静态服务托管平台(例如Vercel),可以实现多镜像站同步的效果。
 V me 50!
- Alipay is also ok~